Tuesday, March 11, 2014

Sister fun and projects with sweaters.

My lovely family combined resources and sent me the best birthday present ever: My sister!  10 lovely days!  Thrift shopping, sewing, smack talk, drinks, smokes, silliness! And we can't forget the Dim Sum! The hardest thing about moving to Seattle has been missing all the people I love.  But how 'bout I skip the maudlin moment and get to the good stuff.

My sister is always COLD!  The girl wears long underwear through an Indiana summer!  We had planned on making some hats out of shrunken wool sweaters to warm her up.  Of course she showed up with a goofy idea we just had to pursue.  She had taken a sweater, put the waist over her head with the neck at the back of her head and wrapped the sleeves around her neck and voila a hood and scarf.  Here is my husband rocking this fab look


Of course we couldn't leave well enough alone.  We just knew we could make it better.  So we cut and we pinned and we sewed and we came up with....almost exactly what we started with.  Here is my sister laughing her ass off at our project fail. 

Yeah.  On to the next thing.  We took apart all the sewing we did on the hooded scarf failure and made a simple hat like this.  It worked out pretty good.  Not terribly exciting though and that may be why we never got around to taking a picture of it.  We also made some underwhelming leg warmers from the sleeves.  They were incredibly warm but left the cheeks chilly.  I showed Sis this lovely and bizarre video someone sent me.


Of course we wanted some swants.  So we looked over the tutorial by the original designer. (Rant about f-ing designers muffled by my scarf)  Here it is.  I read it over twice.  Maybe I'm slow but I just didn't get it. So we started surfing and found this alternative design.  Her instructions made a lot more sense and we had our swants wearable in just about an hour.  (We decided we liked the term pweater better than swants.  We also toyed with spweater but....well... say it out loud with out laughing I dare you to try)  I will spare you the details of our making these.  Read Sade's tutorial at A Year of Handmade if you want to know how.  But here are my notes in case you try it.  

1.  I'm not sure how you could possibly do this alone.  Many contortions ensued and I admitted defeat.
2.  Only do this with someone you are 100% comfortable with as they will be pinning at your crotch.  
3.  We are both short girls so we ended up not needing to add the waist band part.  Sis wanted hers as flat as possible  to go under pants so we just cut around the top at her hip line and we were done.  I'm a skirt girl so I folded the top down once and put in an elastic.  
4.  We used the left over sweater fabric to extend the legs all the way down to our ankles.  We cut the bottom of the legs (sleeves) open at the seam. We cut pieces to match the width of the bottom of the legs and sewed them on to each other with two lines of zigzag stitches.  Then we repinned and sewed the seam of the now longer legs.  Here we are wearing our new fabulous pweaters 

We are so Hot!

Tuesday, March 4, 2014

I heart bags

I have a thing for bags.  My quest for the perfect bag has been long and detailed.  The perfect bag is beautiful, goes with anything, has space for everything, is adjustable and doesn't cost more than the national debt.  Ok, I'm a cheap ass so it really needs to cost less than 50 bucks (who am I kidding? 30 and it better be awesome).  I look at bags every time and everywhere I see them.  Department stores, specialty shops, Amazon, Ebay etc...I love second hand stuff the most (save the planet...blah blah blah...)so I have dug through countless piles of frightening things that I'd like to slap some designer for. [My desire to slap designers runs deep.  More on this another time.] I even stare at the bags I see people carrying (I'm a bag stalker) . The only bag I have ever found that really comes close to what I am looking for is this one (purple, or black in case you were thinking of getting me one), which at $190 new and sometimes up to $175 used I have pretty much given up on owning.  The quest is what got me in to making bags in the first place.  I had just graduated from making curtains to hemming pants and I felt that I was ready for something more fun so I of course jumped right in to the most complicated type of bag I could think of: a back pack.


Here it is.  I made it.  I used it.  I loved it. Obviously it has issues but I had tons of fun figuring it out, screwing it up,  tearing it apart and starting again.  It came out really good for a first try and I even got some compliments on it.

Warning! Soap Box ahead:  

Just do it.  Whatever it is you are thinking about trying, just do it. You don't have to show anyone if it comes out like crap. But you might surprise yourself and you will certainly learn something and the next one will be better.  This thing by Ira Glass (hearts and flowers) inspired me recently

I've learned a lot since the backpack (I should probably try another one). I've made lots of bags but one thing I hadn't ever done was make a plain, unlined tote bag.

So, My plain unlined tote bag...yeah right.  I can't help it I have to complicate everything.

Pillow cases are great for making bags.  They are super cheap (got mine for 99 cents at the goodwill).  They come in fun and funky patterns and if you want to go way easy you don't even have to cut it open just sew a couple handles to the top and there you go.  A full sized pillow case is pretty big for a tote bag, though and I wanted my handles to match so I cut mine up.  I turned it inside out and cut off the sewn edge then used the seam ripper to open the hemmed edge.  I aim for as little waste as possible without going insane.  The hem on a pillow case is pretty wide just cutting it off would lose you a lot of useful material.  There are times when it's worth the waste to just chop the bugger off but I'll go into that another time.


Once you have a big open piece of fabric it's time to get out the iron.  

Minor tangent:
My mom is (or has been off and on over the years) a professional seamstress, so of course I never learned to really sew until I was grown up.  This summer she taught me how to work from a pattern which was lots of fun.  I continue to ignore most of the things she taught me, cause, well I'm just that way.  One thing I learned (but still sometimes ignore) that has changed the way the doodads I make come out is:
PRESS EVERYTHING! 
With that said you noticed my parenthetical comment above and are wondering why one second I'm saying DO THIS!  and the next I'm saying I don't always do this.  Two reasons.  1) Everything you sew will look better if you press it.  2) Life happens.  If I have 30 minutes to sew I'm gonna grab it and the hell with pressing.  I'm not selling this shit, I'm sewing cause I like to and I'm not going to waste half my 30 minutes getting out the iron and waiting for heat. I Grab the fabric and get started.  Of course when I have 2 hours or if what I'm making is intended for a gift I whip her out and make flatness and creases in all the (sort of) right places.

Once you have one big smooth piece of fabric decide how big you want your bag to be and cut two pieces the same size.  I usually fold the fabric and wing it.  With what was left over I cut two long strips for my handles.  You want your handles to be sort of thick so that they are comfortable to carry, so I cut my strips four inches to end up with a one inch handle.

actually...first I cut a two inch strip and ended up with a 1/2 inch handle which just wasn't wide enough.  It felt like using ribbons to carry a bag.  No good.  So I remeasured and recut.  I don't always pay close attention to measuring.  For some things, like cutting two like size rectangles that only have to match each other, I just match them up and cut.  But, Handles need to be pretty accurate if you want them to work together.  Mismatched handles make a bag you will never use.  Also this is a situation where the iron really helps.  Once I have the fabric cut 4x the width I want to end up with, I carefully fold it in half and iron a crease down the middle.  Then I open it up and fold each half in to the center so that it will fold on itself with the right side out. Then fold it again so that your raw edges are on the inside and iron again.  


Clearly in these pictures I was still working on the too narrow handles.  Moving on.  

Since I was making an unlined bag I started thinking I wanted to make it so there were no raw edges on the inside.  Thinking is not always a smart thing for me to do (as you will see when the bag is finished).  So while the iron was hot I thought I'd just turn in all the edges before I put the bag part together so the inside would look nice.  

I did a double fold on three edges and a single fold on one knowing that I would fold it down again later when i put the handles on the top edge of the bag.  

With my ironing done I headed over to the sewing machine and started putting together the bag part.  So this where things sort of go funky and it becomes obvious that I don't really know what I'm doing. I did a quick test to make sure I had the tension right.  

Looks good so, I put the two sides together with my nicely folded edges and they didn't quite match up but since I'm a wing it sort of gal I started sewing anyway.  And this happened:


Ok, so things work better when you measure accurately and pin but since I didn't...I resewed the part I missed and kept going.  This is the inside after all

Yeah......Handle Time! (There's an MC Hammer joke in there somewhere) Since they are ironed down you don't need to pin.  I sewed a 1/8ish inch seam on both sides of the handles.  You don't really need to but I think it looks more finished if you do both sides.  Balanced, you know


Now we are ready to attach them to the bag.  Of course this is the point at which I realized that I hadn't really thought too much about how long I wanted the handles to be.  Luckily they were just long enough to fold them in to the top edge of the bag and still have handles worth holding.  This is not going to be an over the shoulder bag.  

Figuring out where to sew the handles on is a matter of matching and pinning and holding the bag and unpinning and rematching until you have them where you want them.  Make sure your handles aren't twisted before you start sewing.  

Once I figured out where the handles belong, I sewed them to the inside of the bag by sewing a rectangle. Then I folded the top edge (handle and all) over one time (remember it was already folded down and ironed once in the beginning).  

This is where the pinning is really important.  Fold the handle back up over the top edge and pin.


Sew all the way around the bag at the top and bottom of the fold.  


Pause and lift the foot so the handle lays flat when you get to it.  

And......There you have it.  


A Simple tote bag somewhat complicated by thinking too much.  If you look closely you can see that the corners are kind of fat and strangely shaped.  That could have been avoided if I would have not worried so much about what the inside looked like, sewn up the raw edges and trimmed them.  Also next time I will take more care to think about how long the handles are. 

Wooohoo!


Update on hiding veggies

Update on the "hide the veggies muffins":
This morning the little one woke up at 5:15! So what do you do with all that extra time? Muffins of course.  Well, we did bread cause we are out of muffin cups.  This morning my ninja was in the dishwasher so I started out chopping the veggies by hand but I just couldn't get them as small as I wanted.  Then came my light bulb moment.  BLENDER! I have a feeling this is the way I will be doing it from now on.  dump all the wet stuff in the blender and let 'er rip.  All the veggies got liquified enough that there was only a slight green tinge instead of my usual 3-5 mm sized chunks.  No chance for the boy to pick out the big pieces.  Yay! Today's combo was Banana, applesauce, spinach, kale, chard and almond butter.  Yum


Thursday, February 27, 2014

Dinner fresh from Tatooine...or Mac and Cheese veggie style

Why do so many vegetarian recipes sound like they come from a planet you only ever heard of in a movie?  Seriously? What the hell is methi-matar-malai?

My family recently decided to stop eating meat (not cheese and eggs don't be ludicrous).  We all did it for different reasons.  I wanted to lose some weight, my husband is concerned about the environment, and my older son got dared into it.  The little one would be happy with a steady diet of yogurt and grapes.  So here we are two months in (for them, 7 months for me) and doing great! I feel healthier than I have in along time and I have no desire to eat meat (the guys decided on a once monthly cheat night 'cause they miss burgers and such).  I have taken to running past the meat section at the local food-o-rama cause I can't even really stand the look of it anymore. Finding new proteins has been an interesting search and we are weeding out the things that are new and different in a good way (lentils, tofu) from the things that just ain't right (seitan).   The hardest part of the whole thing is coming up with interesting things to eat that don't feel like we are eating salad every night.  So of course I'm all over the google thing looking for recipes.  My husband is a very creative cook and since we have made the switch he has risen to the challenge and his results have yielded very few duds. I, on the other hand am perfecting the art of vegetable mush.  Add some rice and voila! Dinner.  I would really like to find some vegetarian recipes that resemble old fashioned American food or at least don't require ingredients that I can't find at the food-o-rama.  Grocery excursions that include more than one store cut into the time I spend screwing up my latest sewing project.  So far the things I've made that have come out the best are the ones that I have always made but now have tweaked vegetarian style.

I learned to make home made mac and cheese from Rachel Ray's recipe for butternut squash mac and cheese.  It is so good and you can hardly even tell there is squash in there.  But of course since it's me I couldn't follow the instructions so over the years is has morphed quite a bit.  When we were still eating meat I added chunks of chicken or sausage or whatever happened to be on sale that week along with squash or spinach or zucchini or (yep) whatever else was on sale.  The basic recipe stays the same and pretty much always comes out good.  Now that we are veg heads, I needed to get rid of the meat I was adding and get rid of the chicken stock that was making the cheese saucy. AND, I wanted it to be a complete(ish) meal without having to try and get the kids to eat a salad on the side.  So here you have it, vegetarian mac and cheese Angie style:

2 boxes Quinoa Pasta: I like the elbows the best but any of them will work
1/2 large onion chopped fine
2 tablespoons Olive oil
2 tablespoons of butter
A small handful of the spices you like: RR uses thyme and that works good I've also used garlic, basil, various kinds of pepper, rosemary (was just so so)
2 big fat tablespoons of flour
1 big fat tablespoon of nutritional yeast
2 Cups of Vegetable stock or 1 cup stock and 1 cup milk or two cups milk
1 cup of a creamy dairy thing I like plain yogurt but cream, cream cheese, sour cream or half and half all work
2 cups of shredded cheese: Again, use what you like.  We are cheese heads so we always have lots of different kinds around the only ones I haven't tried are the real moldy smelling ones like blue cheese but that's just because I don't like it.  But everything else I mix and match.
1/2 cup of shredded hard cheese like parmasan or asiago
1/2ish teaspoon nutmeg (weird I know but it really adds a nice kick to the whole thing)
salt and pepper
2-3 cups of what ever vegetables you like (if you are using squash add it to the cheese sauce instead of at the end.  Refer to RR's recipe)

Here is where I admit that I suck at timing all this stuff so that it all goes together and nothing is over cooked.
So I have found that the best bet for me is to make up the cheese sauce ahead (it freezes really well I double or triple the recipe and have some for next time). When I'm ready to have it for dinner I do up the noodles (follow box directions), defrost the cheese sauce and saute the vegetables as is appropriate for the ones you have chosen so that they are almost done (the hot cheese will do the rest). When the noodles are done stir all of it into the cheese and you are ready to eat!

And now you are yelling "Hey what do I do with all that flour and cheese and crap?" This is the fun part:

Heat Olive oil and butter in a pan until the butter is melted.
Throw in the onion and spices and cook for 2ish minutes
Add the flour and nutritional yeast cook for another 2ish minutes stir so that it all makes a wet sort of mush.
Whisk in stock or milk
When it starts to thicken add creamy dairy thing stirring now and then til it starts to bubble.
Stir in cheeses until they melt completely
Add nutmeg and salt and pepper to taste

My big kid won't eat the mac from a box after eating this.

P.S.  Clearly this dish is not low fat but no sugar plants were harmed in it's making.


Saturday, February 22, 2014

Hey Guys! Let's play hide the vegetable!

One of my kids is TWO.

He loves VEGETABLES.

Who can spot the lie?

My little boy would happily eat yogurt and grapes for every meal (yes I cut them up, duh).  But I'm one of those annoying mom's who is always trying to get some nutritional variety into the kids' diet.  You know, the one you pretend you don't recognize at the park because you don't want to hear about her child's eating habits for the 42nd time?

So I spend a ton of time trolling the google thing looking for suggestions, ideas, recipes....so many many many and they are never quite right.  Weelicious is sometimes helpful and sometimes completely insane.  Collard greens? Seriously? Ever had a two year old laugh in your face? "Is that food, mom? I have a crayon that color, can I eat that instead?" Ok, not really, but that is what I imagine he would say if he could tie more than two words together.

One thing I have learned in all my fun with food is my kids will eat almost anything if I put in in a muffin.  Let's not get too crazy of course I'm not talking green peppers or anything wild like that.

So I have piles of recipes for magical muffins that got my kids eating vegetables without even noticing.  BUT!!! Here it comes...the big BUTT. Yes the extra T belongs there because so many of these recipes rely on the fact that they are filled with sugar to make them tasty.  So I started experimenting with various amounts of sweet and differing kinds of sweet with the different recipes I had.  I started noticing that all the recipes are really almost the same.

                   ALSO.....


I will do whatever I can to try and save myself time and money.  It really pisses me off if I have to go to the store more than once a week and what I buy is going to be whatever is on sale.  Which means that what we have available to eat in our house is going to be a crap shoot.  My husband will happily go to the store to buy specific (expensive) ingredients for something special he wants to make.  I on the other hand try to make whatever I've got into something special.  His concoctions are almost always delicious.  Mine are almost never inedible.  The trying is the fun part right? Of course right!

Because I never have the same things twice I started playing around with the parts of the recipes that aren't always the same.  You know you need a bit of fat and a bit of sweet, something that will make them puff up etc.  So below is what I have come up with that almost always works along with some of the things I have used to fill each category

I've used the same recipe for quick bread if I'm out of muffin cups. Be sure to grease your pan really well and bake longer if you do bread. I start the pokey thing testing method after about 30 minutes.

Start with two bowls one for wet, one for dry.

Wet stuff:
3 Tablespoons of fat: butter (melted), vegetable oil, coconut oil (treat like butter), avocado (did you know you can bake with avocado?)
1 egg  (unless you are allergic to eggs use them they are good for you)
1/2 cup sweet: honey, sugar, brown sugar, maple syrup, corn syrup, blue agave (I have not tried stevia let me know if you try it and how it goes)(molassass does not work)
            Side notes on sweets:  1/2 a cup comes out to two teaspoons per muffin.  I have tried using 1/3 cup
            but that only really works if your fruit mash is really sweet like apple sauce or a super ripe banana.
            And then I also add something sweet at the end like raisins or dried cranberries.
1/2 cup dairy: milk of all kinds including soy or coconut for you non dairy folks or yogurt (I've used plain and fruit kinds depending on what I have in my fridge be aware that adding fruit kind also adds sugar)
3/4 cup fruit sauce or mash: Go crazy try everything! I include squashes and sweet potatoes in the fruit category when making these things because they are sweet and they mash nicely once cooked (yes you have to cook the shit out of them first. nobody wants a lump of unmashed potato in their muffin).   I've found that strawberries don't really taste all that good cooked (I guess that's why strawberry pie is always the fresh fruit mixed into that weird gelled goop)
1 cup vegetables chopped fine: spinach, kale, chard, carrots, zucchini, broccoli (is so, so), cauliflower are ones I have tried.  Chop it really fine.  I use a ninja because chopping things really small is the key to hiding the good stuff and I'm too lazy to do it with a knife.  Also, when I say one cup I mean one cup before chopping. I really jam full the cup but, lets not go over board we want the kids to actually eat this stuff.  I have also left the vegetables out with out changing any other part of the recipe and they are just fine.

Dry stuff:
2 cups of dry flour-ish substances:  I mix and match usually using 1 cup of whole wheat flour and some combination of unbleached all purpose flour, flax seed meal, oatmeal, almond flour, or corn meal.  soy flour does not work.  Let me know if you find others that work. When using oatmeal I dump it into the wet bowl to soak for a while.
2 teaspoons baking powder
1/2 teaspoon baking soda (I have not messed with these.  Need to bone up on my chemistry first)
1/2 teaspoon salt.  Everything tastes better with salt.  It doesn't seem like it should but it does.
Spices.  You are going to have to go with your own tastes on this one.  I have found that it's hard to go wrong with a teaspoon or so of cinnamon.  I usually end up with some combination of Cinnamon, nutmeg, and ginger adding up to about two teaspoons but we like things spicy around here.

I sometimes add things that are small pieces into the dry before adding it to the wet. Things that work good are blueberries   (Fresh or frozen) raisins, cranberries, chocolate chips and chopped nuts.  I have at times ground nuts to a powder and used a small amount in place of some flour.

So that's it.  Combine the two bowls of stuff together (The key to muffins is not over mixing. Mix until it's all wet then stop.)


Put them in the oven at 350 for between 15 and 25 minutes for muffins.  I start sticking a toothpick or fork or knife in them after about 15 then recheck every 5 or so until the pokey thing comes out clean.

Full disclosure: not every combination is good.  I've come up with some doozies. Some things only my toddler will eat. Even if you think it's gross it's worth giving to them before tossing the whole batch. Children under five are all insane who knows what they will think is ambrosia. 

Good luck let me know what is good and what is NOT!


Friday, February 21, 2014

Your Crazy Aunt.

You have one.  You know you do.  That crazy aunt or grandma or second cousin who makes silly things and gives them to you for [insert obligatory celebration here].  Remember A Christmas Story? That's me! (The aunt not the kid). What no one ever seems to recognize when cringing or giggling over their bunny suit is just how much fun Aunt Clara had making the damn thing.  When I give someone something I made it's really not appreciation I'm looking for.  I do hope that people will like the things I make but really, lets face it, I'm going to keep making this shit and giving it away weather you like it or not.  Years ago, I made a silly green hat for my brother-in-law who was about 16 or so at the time.  The best part of giving him that hat was seeing the look on his face when he came into my house clearly having been forced to wear it.  Ha Ha Ha! So suck it up you long suffering goofy gift getters, Aunt Angie isn't quitting.

Thursday, February 20, 2014

There will always be cock ups.

Ok! So, jump right in is the best way, right? I was thinking "start with a new project" but with the eighty-hundred half finished things hanging around the Closet of Crafty Delight who knows when I'll get to doing something really new.

I LOVE upcycling! Yes, yes reusing old stuff is the way to go. Be green and all that.  But the really fun part of it for me is figuring it all out.  Finding ways to use the old stuff piecing things together and coming up with something new and cooler than the old thing.

I've been making these tote bags from t-shirt yarn for a couple months.

They are fun and quick and easy.  Here is how to make T-shirt yarn  Here is the pattern that I originally used to make the tote bags. They have morphed a bit from the the instructions she gives.  Following instructions isn't my strong suit and well it's just more interesting to make things up as I go along.  

So most of the women in my family got these for holiday gifts and the ones who didn't will be getting them as birthday gifts.  My aunt asked me about putting a lining in one so of course I'm off on a tangent leaving various other unfinished things hanging while I figure it out.  

I've made quite a few simple tote bags and I basically line them like this.  I thought if I could force the edge of my bag under the sewing machine foot I could maybe sort of do it the same way.

I sewed up the butt of an old pair of pants my kiddo grew out of thinking the pockets would make a nice addition to the inside of the bag.  


Ladies and gentlemen you see above Current project cock up number 1. I forgot to leave a hole in the bottom to pull the finished bag through once it's all sewn together.  So I whipped out my trusty seam ripper and made a hole.  And decided while I was doing it that the whole thing would go together better if I sewed up the corners and made the shape of the lining a little closer to the shape of the bag


Of course I had to spend a few minutes remembering how to put it together so that the right sides show when the bag is done.  Not sure why it's so hard for me to keep the "right sides together" rule in my head.  At this point I have accepted this as part of my process.  


I'm not much for measuring most of the time.  I just sort of match things up, cut, pin and pray.  The pinning is what brings us to cock up number 2 


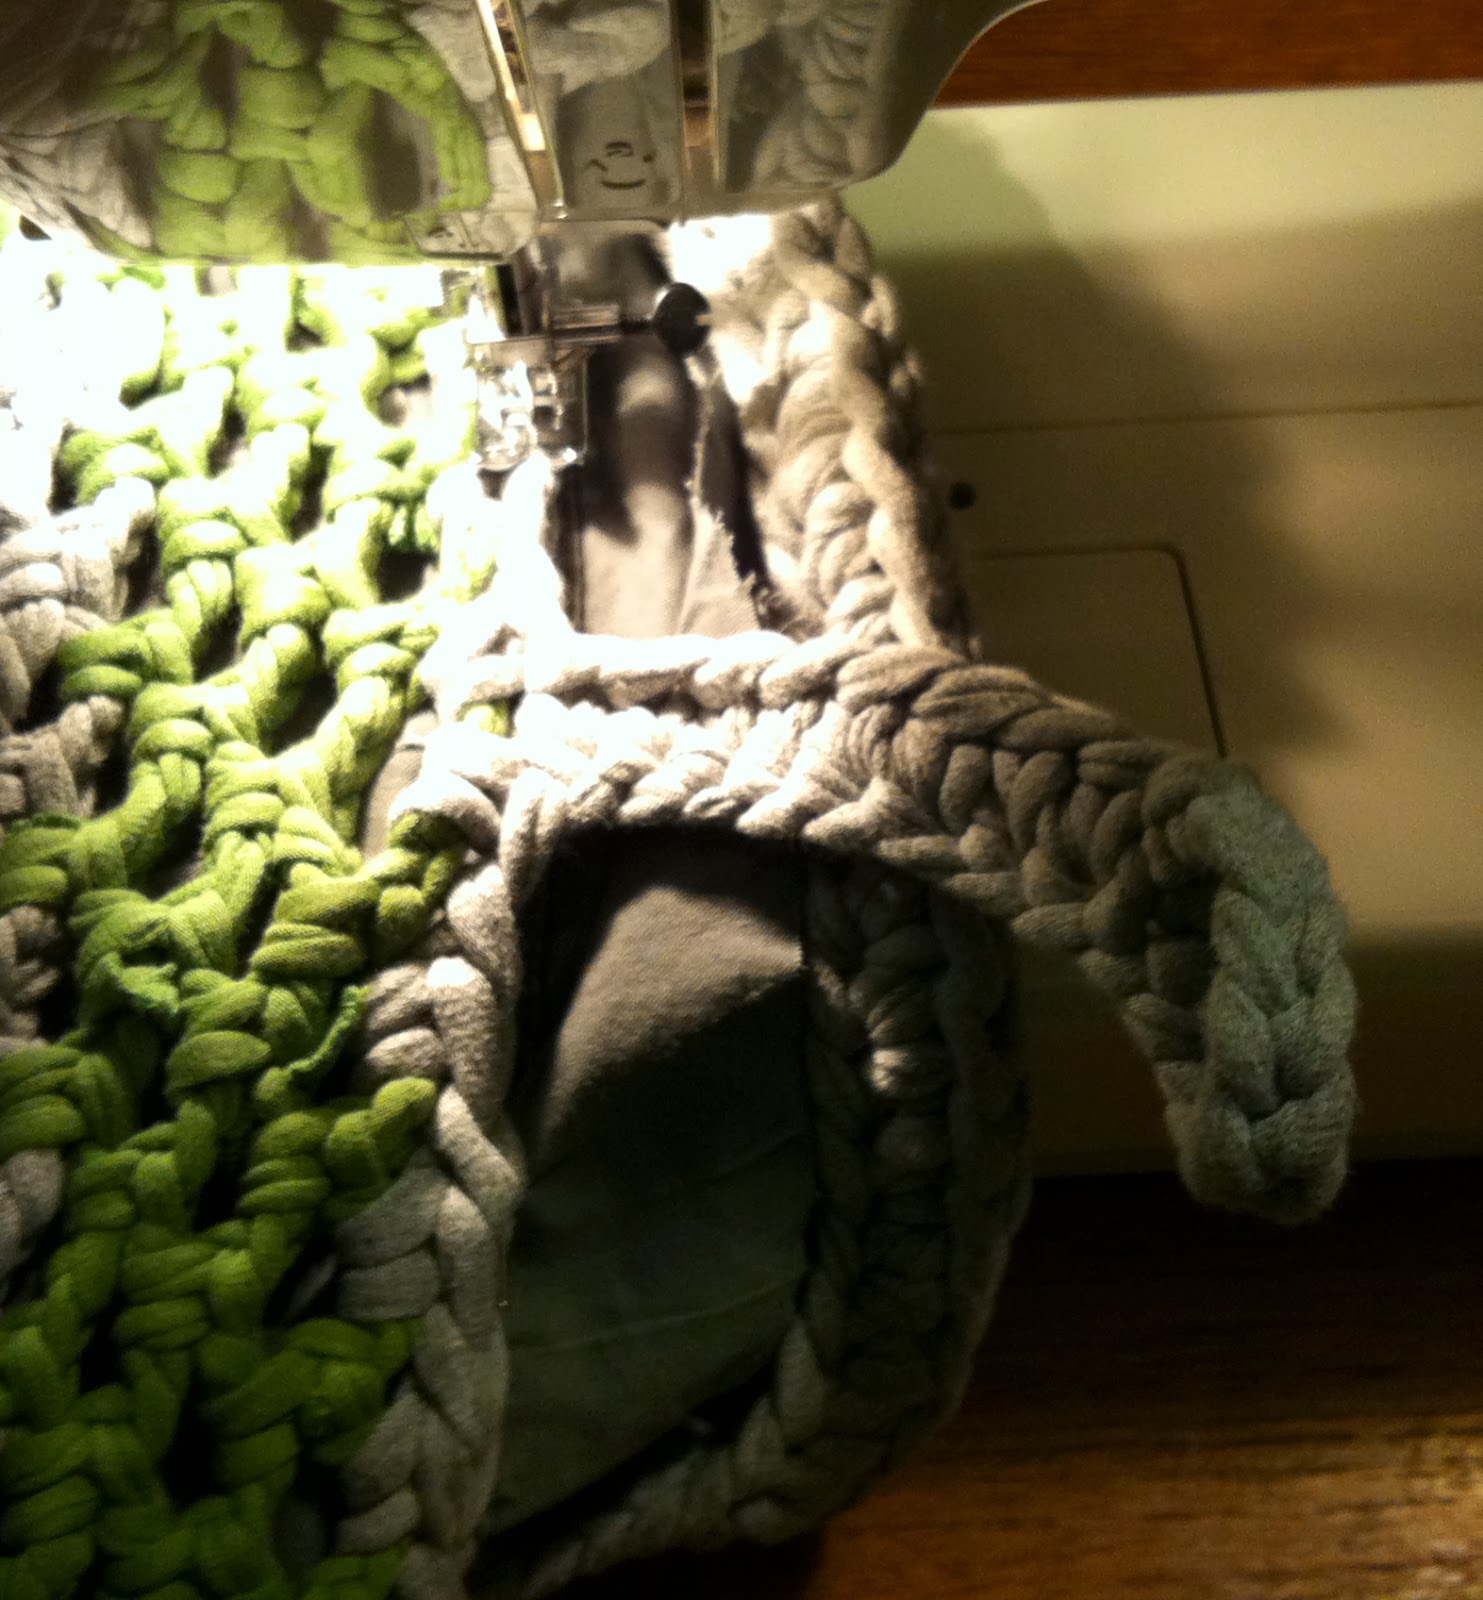
Notice at the top of the picture above you can see the presser foot.  If you look carefully at my (not at all focused) photo you will notice that the head of the pin is up there heading right for the foot.  If you pin so that your pins are up instead of down or on the side you have to turn your hand around and pull back toward the machine to get it out.  Annoying, sometimes difficult and occasionally painful.  

WHATEVER!

I got the whole shebang jammed under the foot and started sewing around the edge.  It was working pretty good until I got to the flappy latch thing that I added so that It will close with a button when finished.  I realized that I had forgotten to turn that part in so that it would be on the outside when I turn the thing.


Cock up number 3 averted!  (The quick witted will note the placement of the handle)

With lots of pulling and pushing, with lots of inching along then speeding through I made it all the way around.  

I looked at this and thought "Whew! I made it. It worked! I just need to trim off the extra fabric from the lining"  And I did just that.  Trimmed the fabric and went about the business of turning the whole thing right side out.  Which of course is when my brain caught up with cock up number 4.  (Or 3b maybe) 


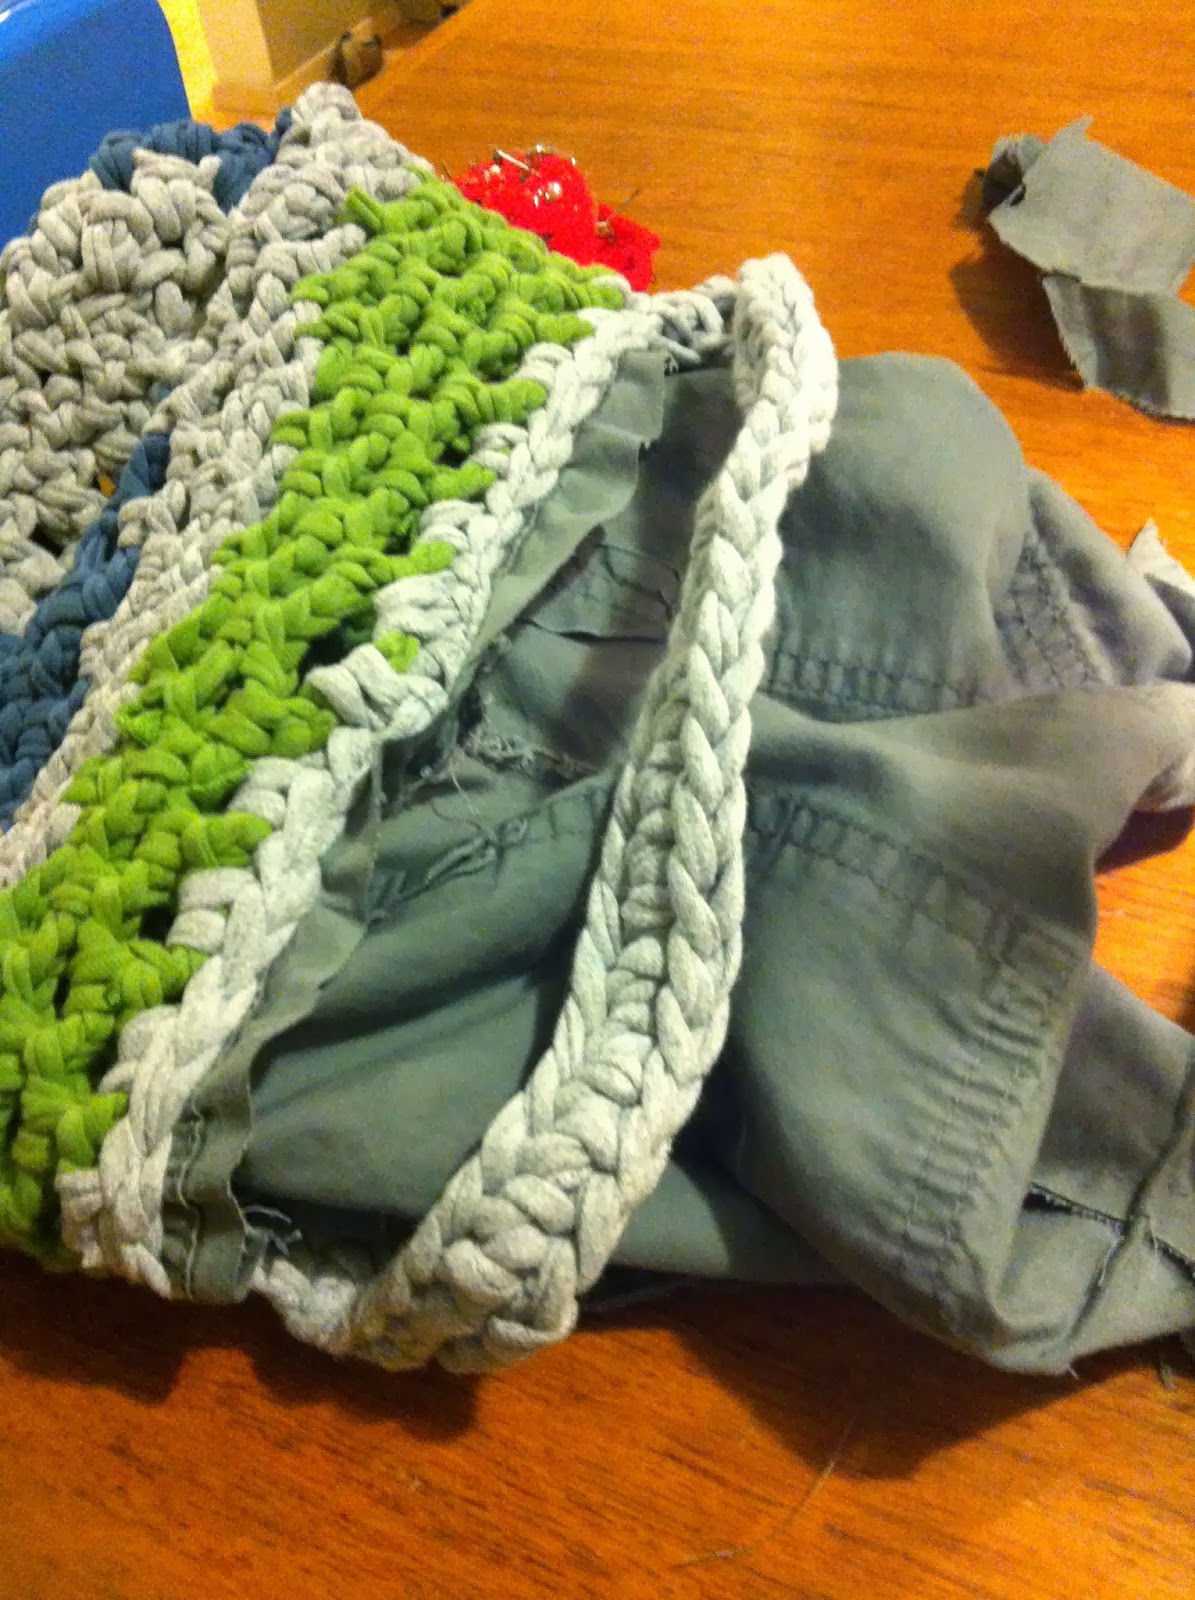
Yep once again out comes the trusty seam ripper cause the whole thing's gotta come out.  It didn't take as long as it seemed.  OK.  Second try.  I repinned with the latch thingy AND the handles tucked inside (which is actually the outside).  Of course bending the handles inside caused the already thick edge to be doubled in the section where the handles attached to the body of the bag.  I got started anyway but when I got to the doubled section my sewing machine put it's foot down (heh heh).  There was no way that presser foot was going over that lump.  

I skipped the lumps, sewed as much as I could with the machine, then did the doubled sections by hand (Not difficult at all.  The needle went right through).  


Um, yeah.  Didn't really turn out as well as I think it can.  The whole thing is really just too thick for the sewing machine.  At places it didn't sew tight.  The lining sort of puffed up over the top edge which I kind of knew it would do because I was sewing so close to the edge but it really doesn't look right so next time I think I'll try sewing it down lower.  I also think I will do it all by hand.  I will finish this one up with a button and put it in my personal use pile.  But not tonight.