Showing posts with label Tote bags. Show all posts

Tuesday, March 4, 2014

I heart bags

I have a thing for bags.  My quest for the perfect bag has been long and detailed.  The perfect bag is beautiful, goes with anything, has space for everything, is adjustable and doesn't cost more than the national debt.  Ok, I'm a cheap ass so it really needs to cost less than 50 bucks (who am I kidding? 30 and it better be awesome).  I look at bags every time and everywhere I see them.  Department stores, specialty shops, Amazon, Ebay etc...I love second hand stuff the most (save the planet...blah blah blah...)so I have dug through countless piles of frightening things that I'd like to slap some designer for. [My desire to slap designers runs deep.  More on this another time.] I even stare at the bags I see people carrying (I'm a bag stalker) . The only bag I have ever found that really comes close to what I am looking for is this one (purple, or black in case you were thinking of getting me one), which at $190 new and sometimes up to $175 used I have pretty much given up on owning.  The quest is what got me in to making bags in the first place.  I had just graduated from making curtains to hemming pants and I felt that I was ready for something more fun so I of course jumped right in to the most complicated type of bag I could think of: a back pack.


Here it is.  I made it.  I used it.  I loved it. Obviously it has issues but I had tons of fun figuring it out, screwing it up,  tearing it apart and starting again.  It came out really good for a first try and I even got some compliments on it.

Warning! Soap Box ahead:  

Just do it.  Whatever it is you are thinking about trying, just do it. You don't have to show anyone if it comes out like crap. But you might surprise yourself and you will certainly learn something and the next one will be better.  This thing by Ira Glass (hearts and flowers) inspired me recently

I've learned a lot since the backpack (I should probably try another one). I've made lots of bags but one thing I hadn't ever done was make a plain, unlined tote bag.

So, My plain unlined tote bag...yeah right.  I can't help it I have to complicate everything.

Pillow cases are great for making bags.  They are super cheap (got mine for 99 cents at the goodwill).  They come in fun and funky patterns and if you want to go way easy you don't even have to cut it open just sew a couple handles to the top and there you go.  A full sized pillow case is pretty big for a tote bag, though and I wanted my handles to match so I cut mine up.  I turned it inside out and cut off the sewn edge then used the seam ripper to open the hemmed edge.  I aim for as little waste as possible without going insane.  The hem on a pillow case is pretty wide just cutting it off would lose you a lot of useful material.  There are times when it's worth the waste to just chop the bugger off but I'll go into that another time.


Once you have a big open piece of fabric it's time to get out the iron.  

Minor tangent:
My mom is (or has been off and on over the years) a professional seamstress, so of course I never learned to really sew until I was grown up.  This summer she taught me how to work from a pattern which was lots of fun.  I continue to ignore most of the things she taught me, cause, well I'm just that way.  One thing I learned (but still sometimes ignore) that has changed the way the doodads I make come out is:
PRESS EVERYTHING! 
With that said you noticed my parenthetical comment above and are wondering why one second I'm saying DO THIS!  and the next I'm saying I don't always do this.  Two reasons.  1) Everything you sew will look better if you press it.  2) Life happens.  If I have 30 minutes to sew I'm gonna grab it and the hell with pressing.  I'm not selling this shit, I'm sewing cause I like to and I'm not going to waste half my 30 minutes getting out the iron and waiting for heat. I Grab the fabric and get started.  Of course when I have 2 hours or if what I'm making is intended for a gift I whip her out and make flatness and creases in all the (sort of) right places.

Once you have one big smooth piece of fabric decide how big you want your bag to be and cut two pieces the same size.  I usually fold the fabric and wing it.  With what was left over I cut two long strips for my handles.  You want your handles to be sort of thick so that they are comfortable to carry, so I cut my strips four inches to end up with a one inch handle.

actually...first I cut a two inch strip and ended up with a 1/2 inch handle which just wasn't wide enough.  It felt like using ribbons to carry a bag.  No good.  So I remeasured and recut.  I don't always pay close attention to measuring.  For some things, like cutting two like size rectangles that only have to match each other, I just match them up and cut.  But, Handles need to be pretty accurate if you want them to work together.  Mismatched handles make a bag you will never use.  Also this is a situation where the iron really helps.  Once I have the fabric cut 4x the width I want to end up with, I carefully fold it in half and iron a crease down the middle.  Then I open it up and fold each half in to the center so that it will fold on itself with the right side out. Then fold it again so that your raw edges are on the inside and iron again.  


Clearly in these pictures I was still working on the too narrow handles.  Moving on.  

Since I was making an unlined bag I started thinking I wanted to make it so there were no raw edges on the inside.  Thinking is not always a smart thing for me to do (as you will see when the bag is finished).  So while the iron was hot I thought I'd just turn in all the edges before I put the bag part together so the inside would look nice.  

I did a double fold on three edges and a single fold on one knowing that I would fold it down again later when i put the handles on the top edge of the bag.  

With my ironing done I headed over to the sewing machine and started putting together the bag part.  So this where things sort of go funky and it becomes obvious that I don't really know what I'm doing. I did a quick test to make sure I had the tension right.  

Looks good so, I put the two sides together with my nicely folded edges and they didn't quite match up but since I'm a wing it sort of gal I started sewing anyway.  And this happened:


Ok, so things work better when you measure accurately and pin but since I didn't...I resewed the part I missed and kept going.  This is the inside after all

Yeah......Handle Time! (There's an MC Hammer joke in there somewhere) Since they are ironed down you don't need to pin.  I sewed a 1/8ish inch seam on both sides of the handles.  You don't really need to but I think it looks more finished if you do both sides.  Balanced, you know


Now we are ready to attach them to the bag.  Of course this is the point at which I realized that I hadn't really thought too much about how long I wanted the handles to be.  Luckily they were just long enough to fold them in to the top edge of the bag and still have handles worth holding.  This is not going to be an over the shoulder bag.  

Figuring out where to sew the handles on is a matter of matching and pinning and holding the bag and unpinning and rematching until you have them where you want them.  Make sure your handles aren't twisted before you start sewing.  

Once I figured out where the handles belong, I sewed them to the inside of the bag by sewing a rectangle. Then I folded the top edge (handle and all) over one time (remember it was already folded down and ironed once in the beginning).  

This is where the pinning is really important.  Fold the handle back up over the top edge and pin.


Sew all the way around the bag at the top and bottom of the fold.  


Pause and lift the foot so the handle lays flat when you get to it.  

And......There you have it.  


A Simple tote bag somewhat complicated by thinking too much.  If you look closely you can see that the corners are kind of fat and strangely shaped.  That could have been avoided if I would have not worried so much about what the inside looked like, sewn up the raw edges and trimmed them.  Also next time I will take more care to think about how long the handles are. 

Wooohoo!


Thursday, February 20, 2014

There will always be cock ups.

Ok! So, jump right in is the best way, right? I was thinking "start with a new project" but with the eighty-hundred half finished things hanging around the Closet of Crafty Delight who knows when I'll get to doing something really new.

I LOVE upcycling! Yes, yes reusing old stuff is the way to go. Be green and all that.  But the really fun part of it for me is figuring it all out.  Finding ways to use the old stuff piecing things together and coming up with something new and cooler than the old thing.

I've been making these tote bags from t-shirt yarn for a couple months.

They are fun and quick and easy.  Here is how to make T-shirt yarn  Here is the pattern that I originally used to make the tote bags. They have morphed a bit from the the instructions she gives.  Following instructions isn't my strong suit and well it's just more interesting to make things up as I go along.  

So most of the women in my family got these for holiday gifts and the ones who didn't will be getting them as birthday gifts.  My aunt asked me about putting a lining in one so of course I'm off on a tangent leaving various other unfinished things hanging while I figure it out.  

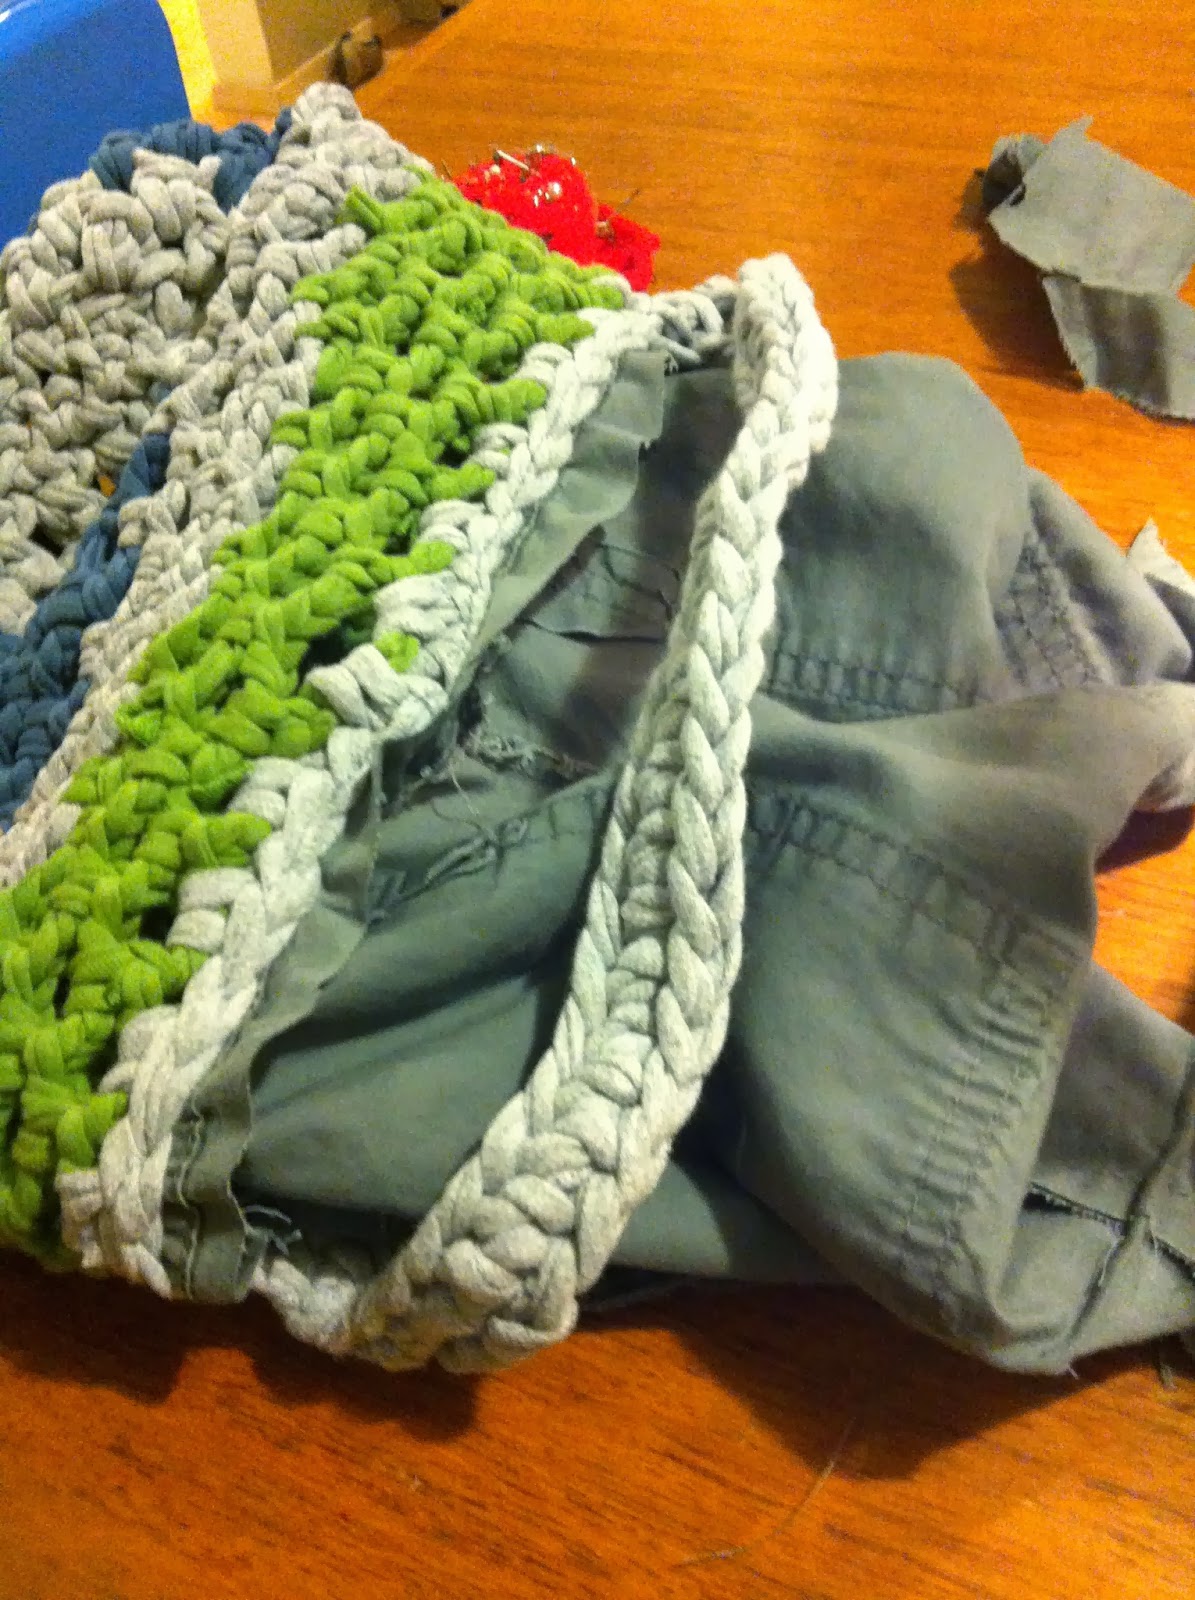
I've made quite a few simple tote bags and I basically line them like this.  I thought if I could force the edge of my bag under the sewing machine foot I could maybe sort of do it the same way.

I sewed up the butt of an old pair of pants my kiddo grew out of thinking the pockets would make a nice addition to the inside of the bag.  


Ladies and gentlemen you see above Current project cock up number 1. I forgot to leave a hole in the bottom to pull the finished bag through once it's all sewn together.  So I whipped out my trusty seam ripper and made a hole.  And decided while I was doing it that the whole thing would go together better if I sewed up the corners and made the shape of the lining a little closer to the shape of the bag


Of course I had to spend a few minutes remembering how to put it together so that the right sides show when the bag is done.  Not sure why it's so hard for me to keep the "right sides together" rule in my head.  At this point I have accepted this as part of my process.  


I'm not much for measuring most of the time.  I just sort of match things up, cut, pin and pray.  The pinning is what brings us to cock up number 2 


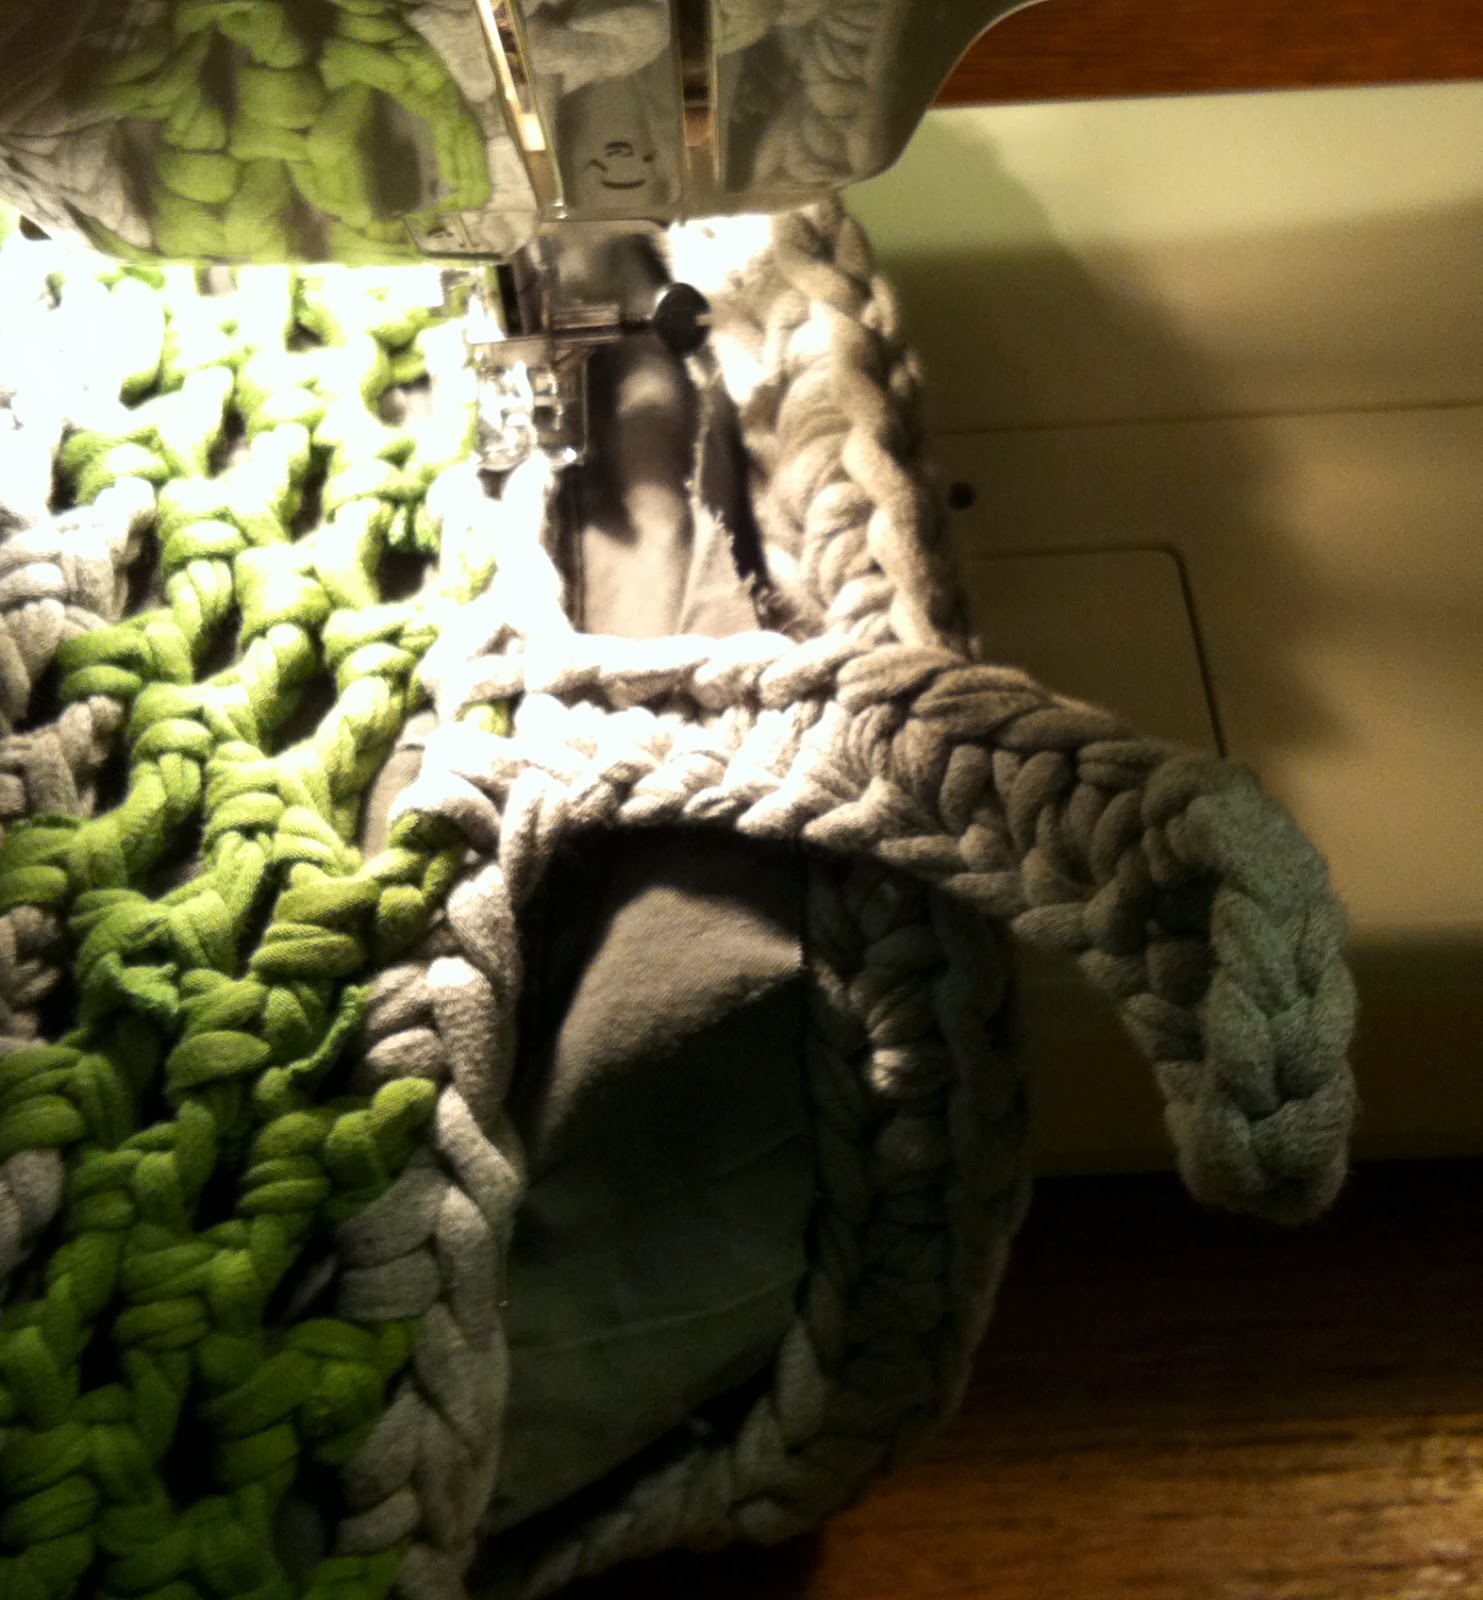
Notice at the top of the picture above you can see the presser foot.  If you look carefully at my (not at all focused) photo you will notice that the head of the pin is up there heading right for the foot.  If you pin so that your pins are up instead of down or on the side you have to turn your hand around and pull back toward the machine to get it out.  Annoying, sometimes difficult and occasionally painful.  

WHATEVER!

I got the whole shebang jammed under the foot and started sewing around the edge.  It was working pretty good until I got to the flappy latch thing that I added so that It will close with a button when finished.  I realized that I had forgotten to turn that part in so that it would be on the outside when I turn the thing.


Cock up number 3 averted!  (The quick witted will note the placement of the handle)

With lots of pulling and pushing, with lots of inching along then speeding through I made it all the way around.  

I looked at this and thought "Whew! I made it. It worked! I just need to trim off the extra fabric from the lining"  And I did just that.  Trimmed the fabric and went about the business of turning the whole thing right side out.  Which of course is when my brain caught up with cock up number 4.  (Or 3b maybe) 


Yep once again out comes the trusty seam ripper cause the whole thing's gotta come out.  It didn't take as long as it seemed.  OK.  Second try.  I repinned with the latch thingy AND the handles tucked inside (which is actually the outside).  Of course bending the handles inside caused the already thick edge to be doubled in the section where the handles attached to the body of the bag.  I got started anyway but when I got to the doubled section my sewing machine put it's foot down (heh heh).  There was no way that presser foot was going over that lump.  

I skipped the lumps, sewed as much as I could with the machine, then did the doubled sections by hand (Not difficult at all.  The needle went right through).  


Um, yeah.  Didn't really turn out as well as I think it can.  The whole thing is really just too thick for the sewing machine.  At places it didn't sew tight.  The lining sort of puffed up over the top edge which I kind of knew it would do because I was sewing so close to the edge but it really doesn't look right so next time I think I'll try sewing it down lower.  I also think I will do it all by hand.  I will finish this one up with a button and put it in my personal use pile.  But not tonight.